Studio Upgrade
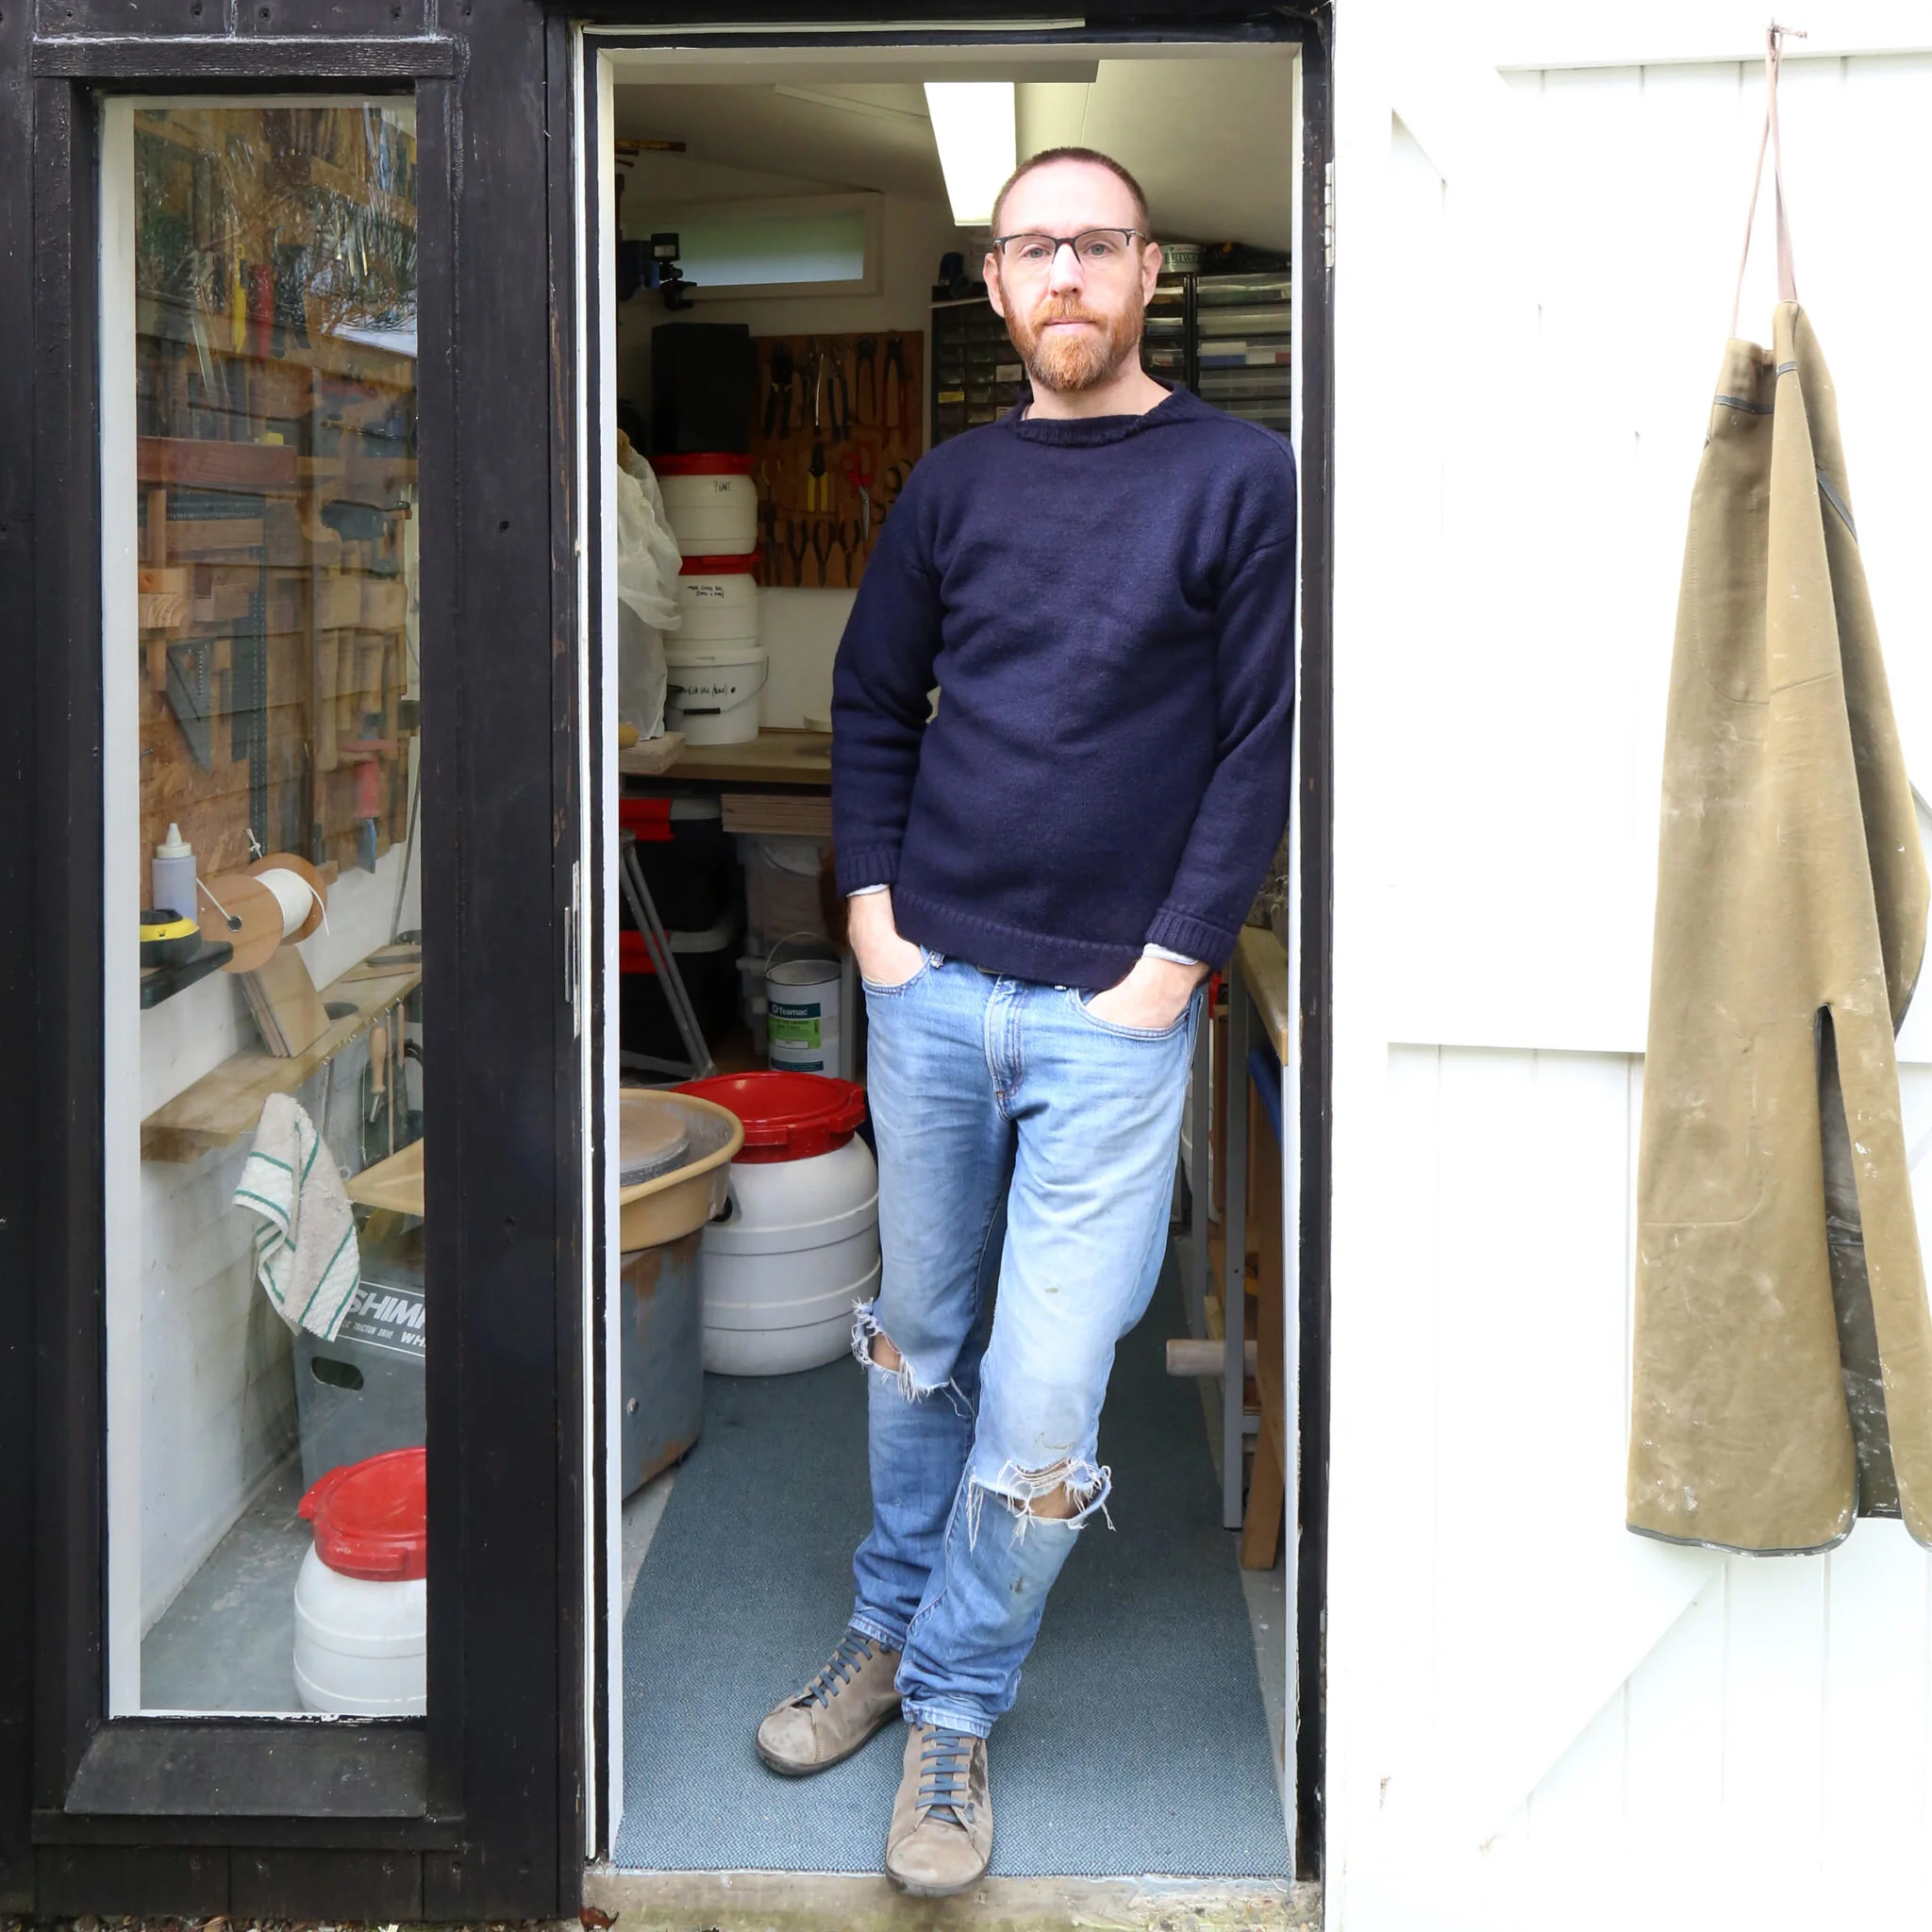
Despite having built this wonderful little space with my own hands, from scratch, it has remained awkwardly ‘multi-functional’ for the last 4 years.
Finally, I began to resent the vast array of tools hung neatly on the wall. They were organised, easy to find, and represented the ‘tidy-space-tidy-mind’ philosophy which is the only real way to survive making work in just 5 square meters of studio. But they were also just tools, mainly woodworking tools, and had little if anything to do with my Artistic practice.
Having made masses of new work in recent months, and rebuilt this website, it was time to rethink the studio too.
Most makers these days, especially those with a web-shop, will appreciate the unseen and mainly thankless task of taking high quality photographs of their work. It is particularly complicated, both technically and conceptually, to do justice to work which is not only 3D, but so intricately textured and layered with shimmering, sparkling glazes. - So much of what makes this work special is about the experience to holding it and turning it in the light. How much of this can be captured in a photograph is debatable, but it seems doubly important therefore, to get images which faithfully represent the colours and surfaces.
Subsequently I have spent a long while learning about Studio Lighting and Photography (note the capitals!) , and I have collected various bits of quite nice second hand kit along the way. The main issue with this kit is that it takes ages to set up and even longer to clear the space needed in the first instance, in order to even begin… (Let’s not mention the hours of Photoshop work required to mask, re-touch, optimise, crop and re-size the resultant images!!)
Every image on this website is one I have taken myself, and it seemed important, now more than ever, to have a simple solution to this problem, on site. The good thing is, I am handy with a few tools, and no stranger to problem solving!
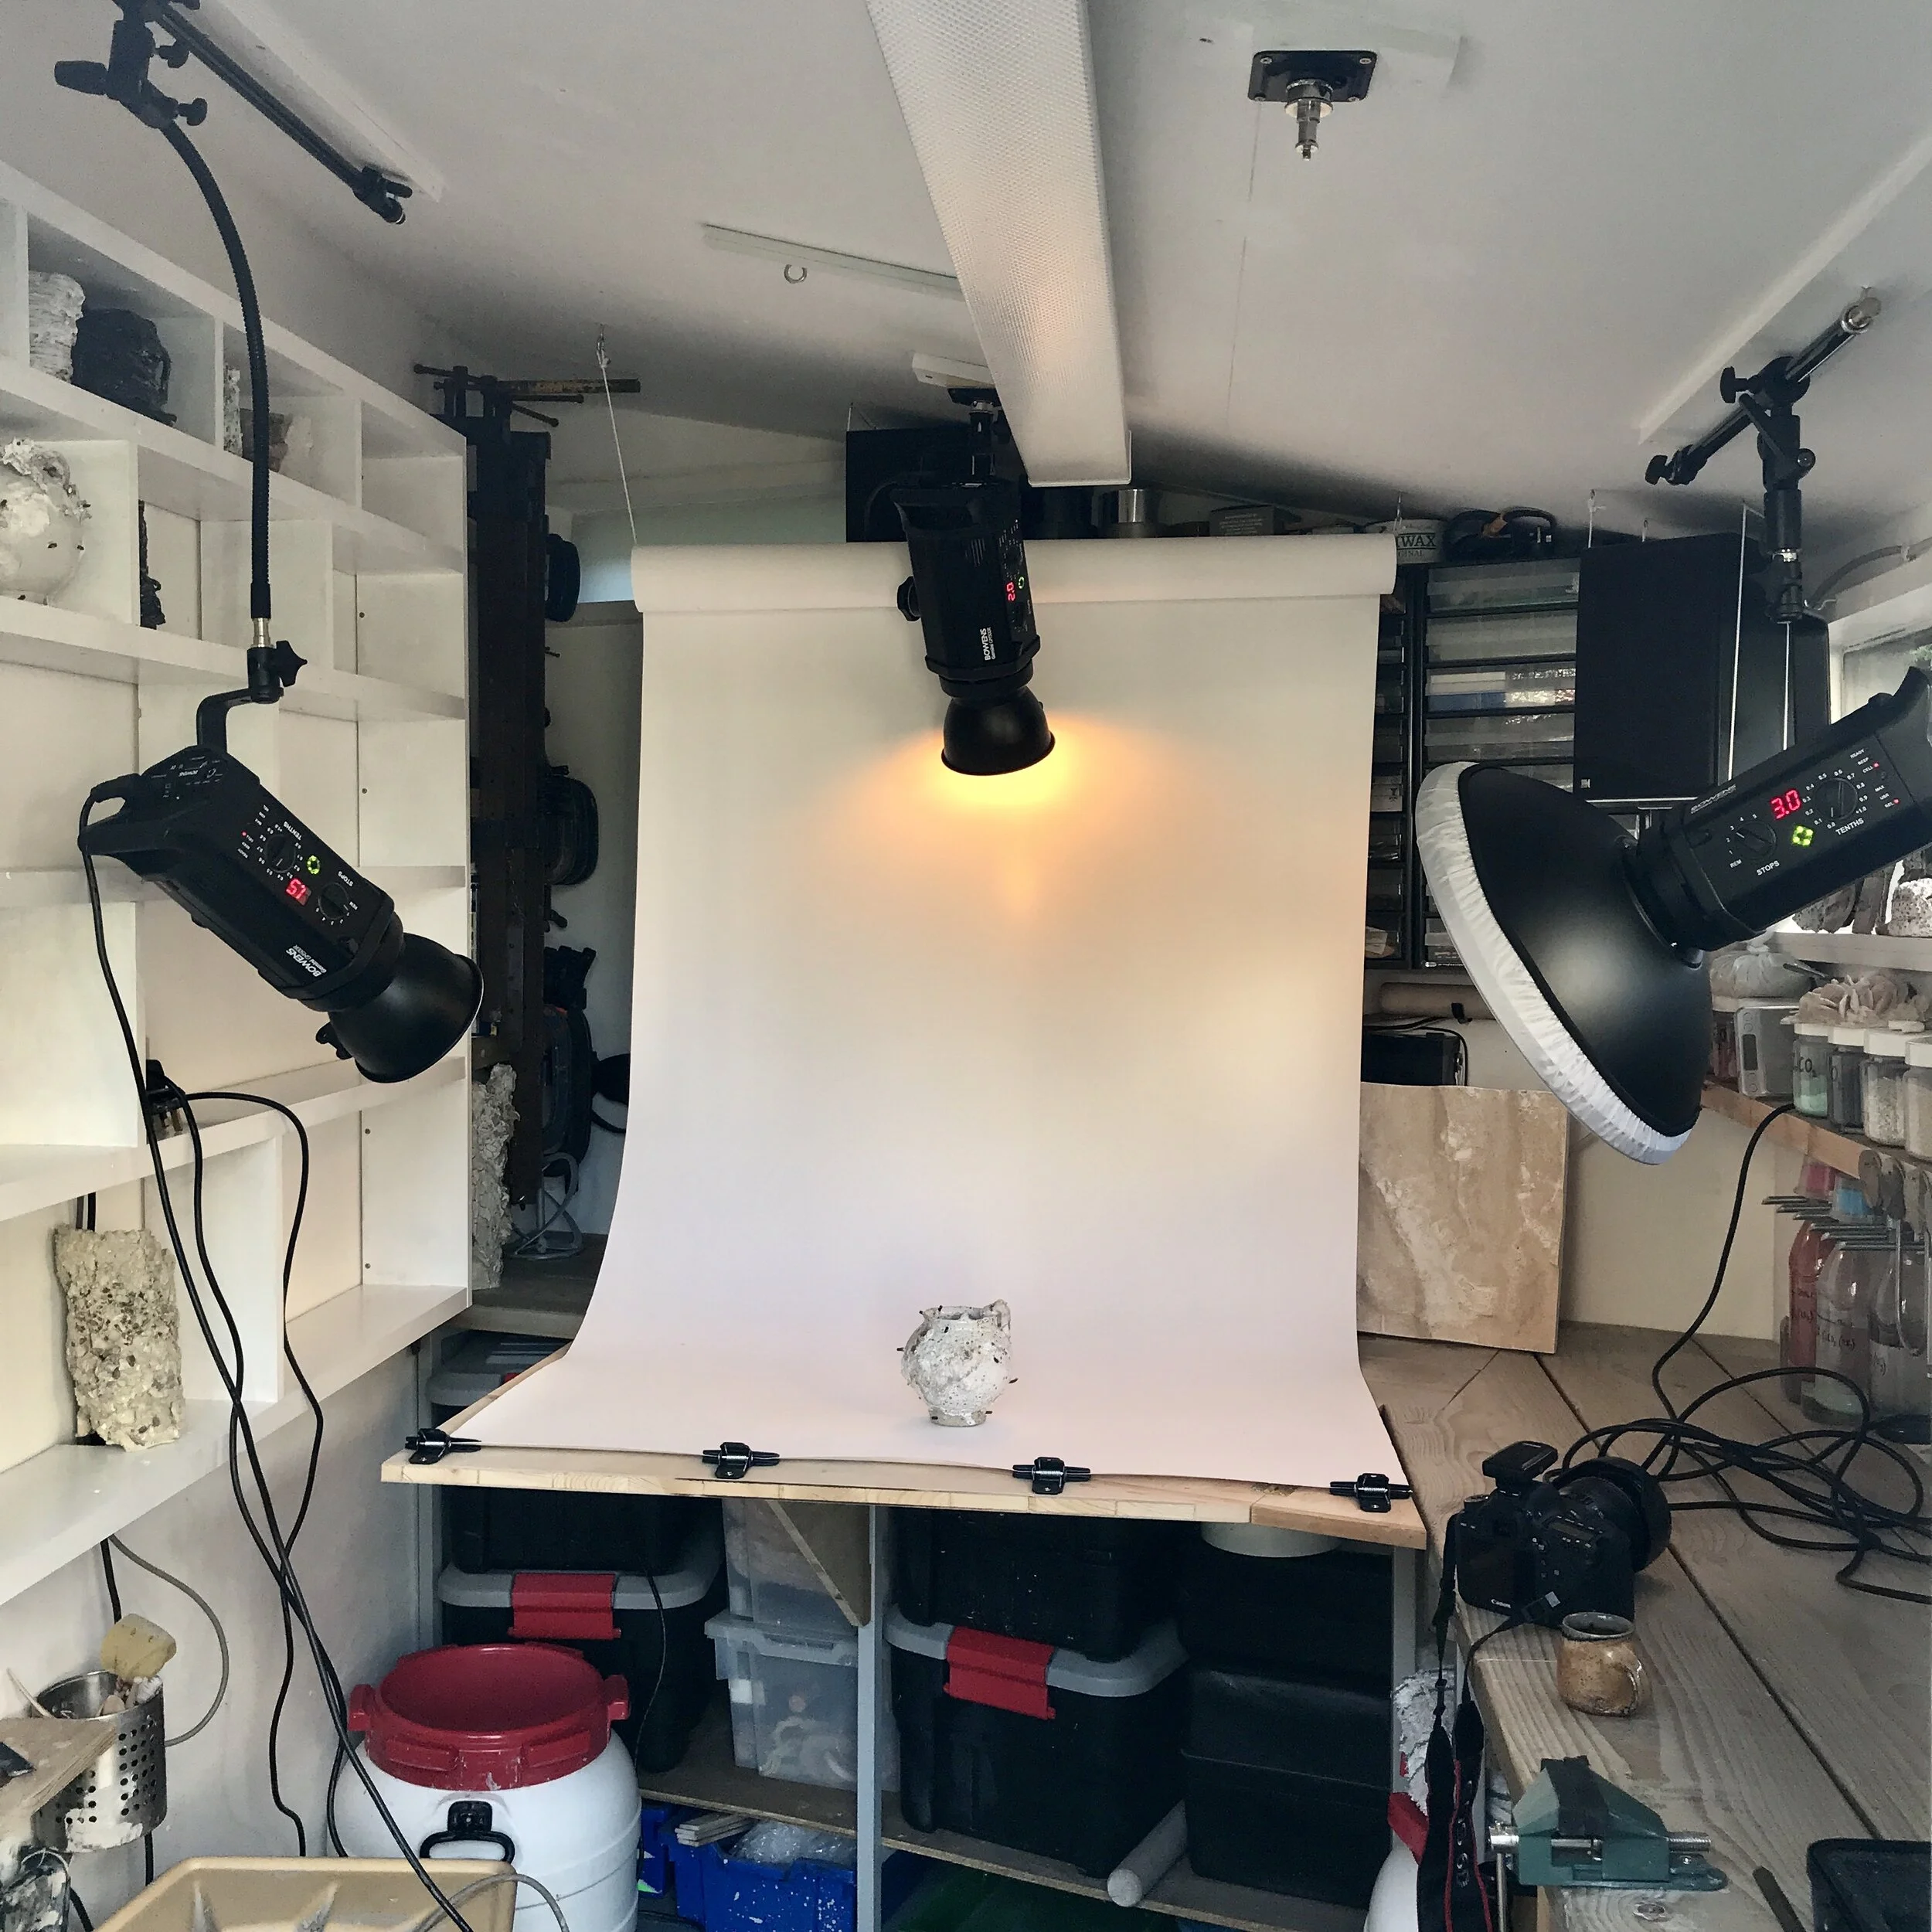
As with so much in this tiny space, hanging things from the ceiling is one way to save space and capitalise on the volume/height, so the paper backdrop hangs simply from a heavy-duty braided nylon string. The loops can be quickly hung from the hooks in the ceiling, and the velcro strap keeps the paper roll neatly closed. (I tend to store the paper indoors so that the inevitable damp in the winter air doesn’t cockle it.)
The table to support this backdrop, and the work to be photographed, is a folding affair with a hinged bracket to keep it at the same level as the main bench. I screwed some rubber-jawed bulldog-clips to the front edge, so that the backdrop paper can be easily held in place. In theory I can create an ‘infinity’ gradient with this, though I tend to strongly light the white paper backdrop to completely over-expose it for a pure white background. - That’s why I mounted another spigot on the ceiling directly over the middle of the paper roll, for a third flash-head..
The geometry of this folding table is complicated somewhat by the fact that the bench, indeed the whole studio, cranks off at an angel. From plan-view, for ease of visualisation, the door is situated on one side of a square, and at the opposite end of the square, a triangle extends the space off to the back and left (imagine a tall rectangle with the top-right corner cut off). Because the bench follows the angle of the back wall, and I wanted the table to sit straight down the middle of the studio, it looks rather odd when folded.
Being able to move the light sources on the left and right of the work is essential, but I don’t have space for bulky lighting-stands, so some kind of rail system seemed in order.
By butchering an old studio-backdrop-stand, cutting some of the clamps in half, and fixing the whole thing carefully into the ceiling with two sturdy screw-eyes, I soon had a pair of functioning rails! - The apparatus is fixed to a length of plywood, allowing me to space the screws out which join this to the ceiling so that they bind through into the roof joists. (The flash-heads are actually quite heavy, so joining directly to the thin 8mm ceiling skin was just too risky.)
All of this Heath Robinson style tinkering now allows me to take photos like these ones (below), and all the others on this website without leaving the studio:
(this piece is now sold)


